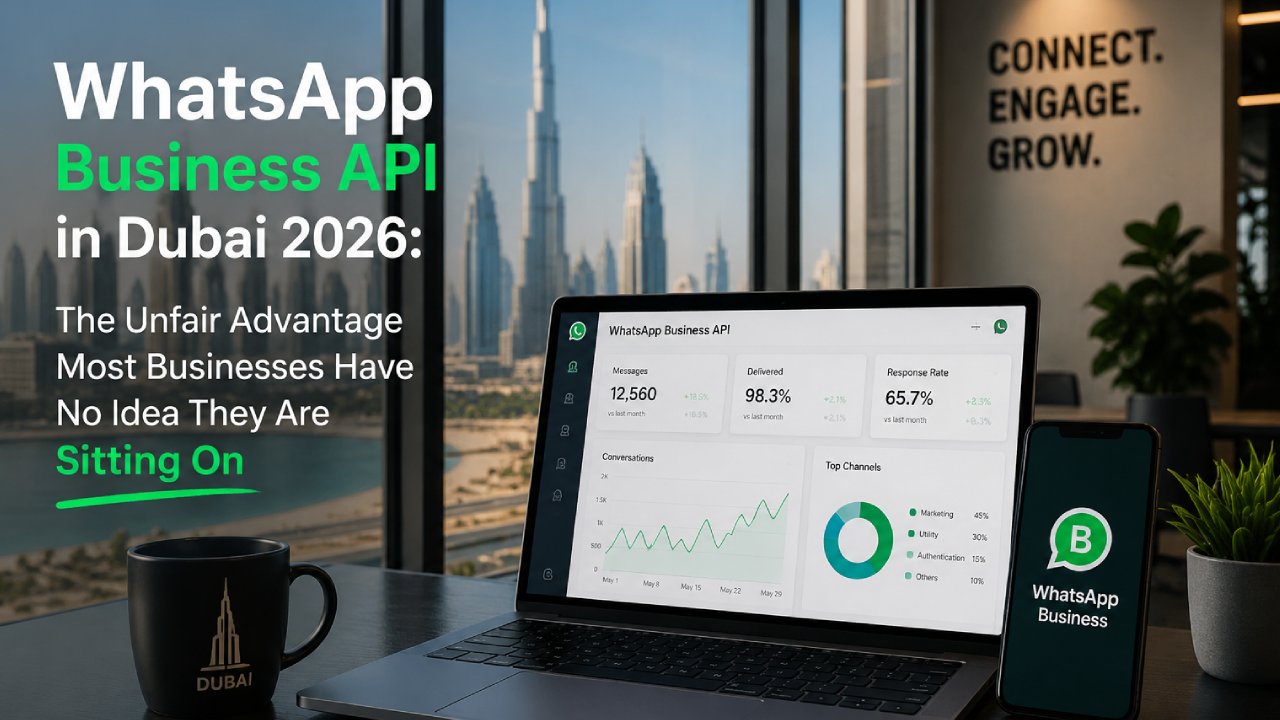
In a digital marketing agency, customers anticipate convenient, quick, and personalized communication between them and businesses. WhatsApp is a central platform used by companies to communicate with their audience, with more than 2 billion active users. WhatsApp Business API is the best solution for enterprises eager to grow their communication securely and effectively.
The API, configured to suit medium and large companies. This can automate conversations, integrate CRM systems, and support high message traffic compared to the standard WhatsApp Business app. This document will walk you through a step-by-step process for installing the WhatsApp Business API in your company.
Step 1: Understand What the WhatsApp Business API Is
Check the WhatsApp Business API tutorial to understand what the API is before setting it up.
- Send SMS reminders (order statuses, delivery emissaries, and so forth).
- Allow customer care chat handover with an agent.
- Integrate with customer relationship management (CRM) systems.
- Control messages via third-party servers or ones personalized to your liking.
The API does not have a user interface. You can use it using Business Solution Providers (BSPs) or implement your own integration.
Step 2: Determine Eligibility
To get Whatsapp API, there are some conditions that your business should satisfy:
- You must have a verified Facebook Business Manager account.
- WhatsApp's commerce and business policies ought to be conformed to by your business.
- You need a dedicated phone number (not tied to any WhatsApp or WhatsApp Business account).
WhatsApp is now limiting access to such industries as alcohol, gambling, and sex. Then make sure your company is compliant.
Step 3: Choose a Business Solution Provider (BSP)
There are two ways to access the WhatsApp API:
- Via BSP (e.g., Twilio, 360dialog, Vonage, Gupshup)
- Direct integration through Meta (requires high technical capability)
Most companies prefer BSPs because they offer:
- Easier onboarding
- Message template approval
- Built-in dashboards
- Customer support tools
- Hosting infrastructure
Popular BSPs include:
- Twilio
- 360dialog
- Gupshup
- Zoko
- WATI
Step 4: Create and Verify Your Facebook Business Account
Facebook Business Manager is a verified account that is needed to set up WhatsApp Business API:
The following is how to check it:
- Access the link business.facebook.com
- Click Business settings > Business info
- Verify a business upon providing legal documents
- Connect your contact data and your sphere of influence
- Wait, and please, Facebook, approve (up to a few days)
Step 5: Set Up a WhatsApp Business Profile
Once verified, you can set up your WhatsApp Business Profile, which includes:
- Display Name
- Business Description
- Business Category
- Email and Website
- Operating Hours
- Profile Picture
Make a good business name of reputation because Meta has strict display name policies to suit your business brand.
Step 6: Get a Dedicated Phone Number
You require a phone number that:
- Does not already have a WhatsApp or WhatsApp Business account
- Can get verification through SMS or a voice call
- Will be permanently bound with the API
Tip: Ensure you have an unassigned landline or IP phone number that no one used before.
Step 7: Register Your Number via BSP or Directly
If using a BSP:
- Create an account with the BSP platform
- Facebook Business Linked Account
- Get your number registered through their assisted portal
- Confirm the number through SMS or a voice phone call
- BSP should manage the technical API set up
If going directly via Meta:
- Take advantage of Meta Embedded Signup Flow
- Needs Facebook Developer tools
- You will be required to run your WhatsApp API client on a server.
You should pass through a BSP when you lack a technical development team.
Step 8: Get Template Messages Approved
Business-initiated messages are only compatible with WhatsApp. That’s why the messaging templates are predetermined:
- Order confirmations
- Shipping alerts
- Appointment reminders
How to get templates approved:
- Write canned phrasings within your BSP dashboard
- Send Meta approval request (can take some hours to one day)
- They can then be sent to opt-in users once approved.
Ensure that the messages do not associate with promotions or spam.
Step 9: Integrate with Your CRM or Helpdesk
Once the API is live, you can work on the WhatsApp integration API into your:
- CRM (like HubSpot, Salesforce, Zoho)
- Ticketing System (Zendesk, Freshdesk)
- Custom software via API endpoints
This enables:
- Centralized customer communication
- Agent handover to live support
- Chat automation with bots
- End-to-end customer journey tracking
Step 10: Automate with Chatbots (Optional)
To scale communication, integrate the WhatsApp API with chatbot platforms such as:
- Dialogflow
- ChatGPT-based bots
- ManyChat (via Twilio or 360dialog)
- Yellow.ai
Chatbots help:
- Handle FAQs instantly
- Qualify leads
- Provide 24/7 assistance
- Reduce agent workload
You can always set conditions for bot-to-human handoff during complex conversations.
Final Thoughts
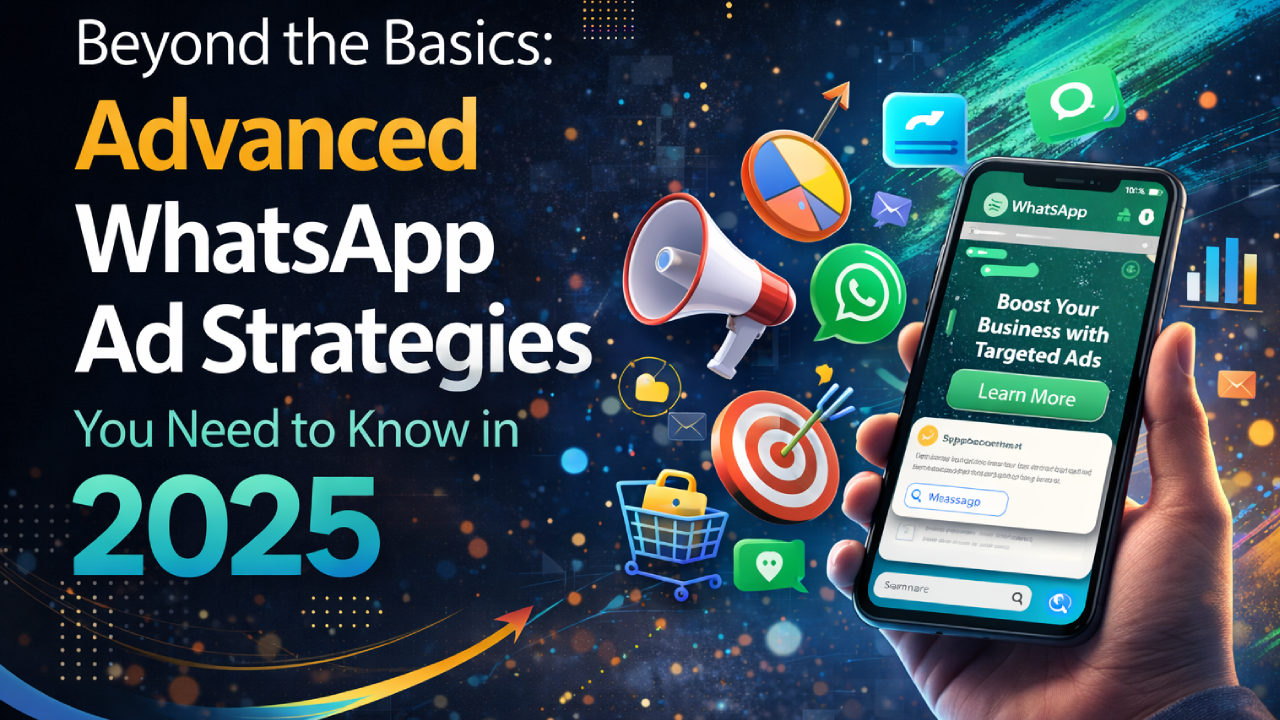
Installing WhatsApp Business API is one of the most intelligent investments for customer-targeted businesses in 2025. Whether you are involved in e-commerce, real estate, hospitality, logistics, or finance, this powerful tool will enable you to convert your customers in real time.
WhatsApp API creates an unlimited realm of one-on-one communication at scale, from automated alerts to real-time assistance. Follow the step-by-step guide above, present a reliable BSP, and take your business communication to a new level today.

Request a free quote
We offer Professional SEO services that help websites increase their organic search score drastically in order to compete for the highest rankings even when it comes to highly competitive keywords.
Contact now